
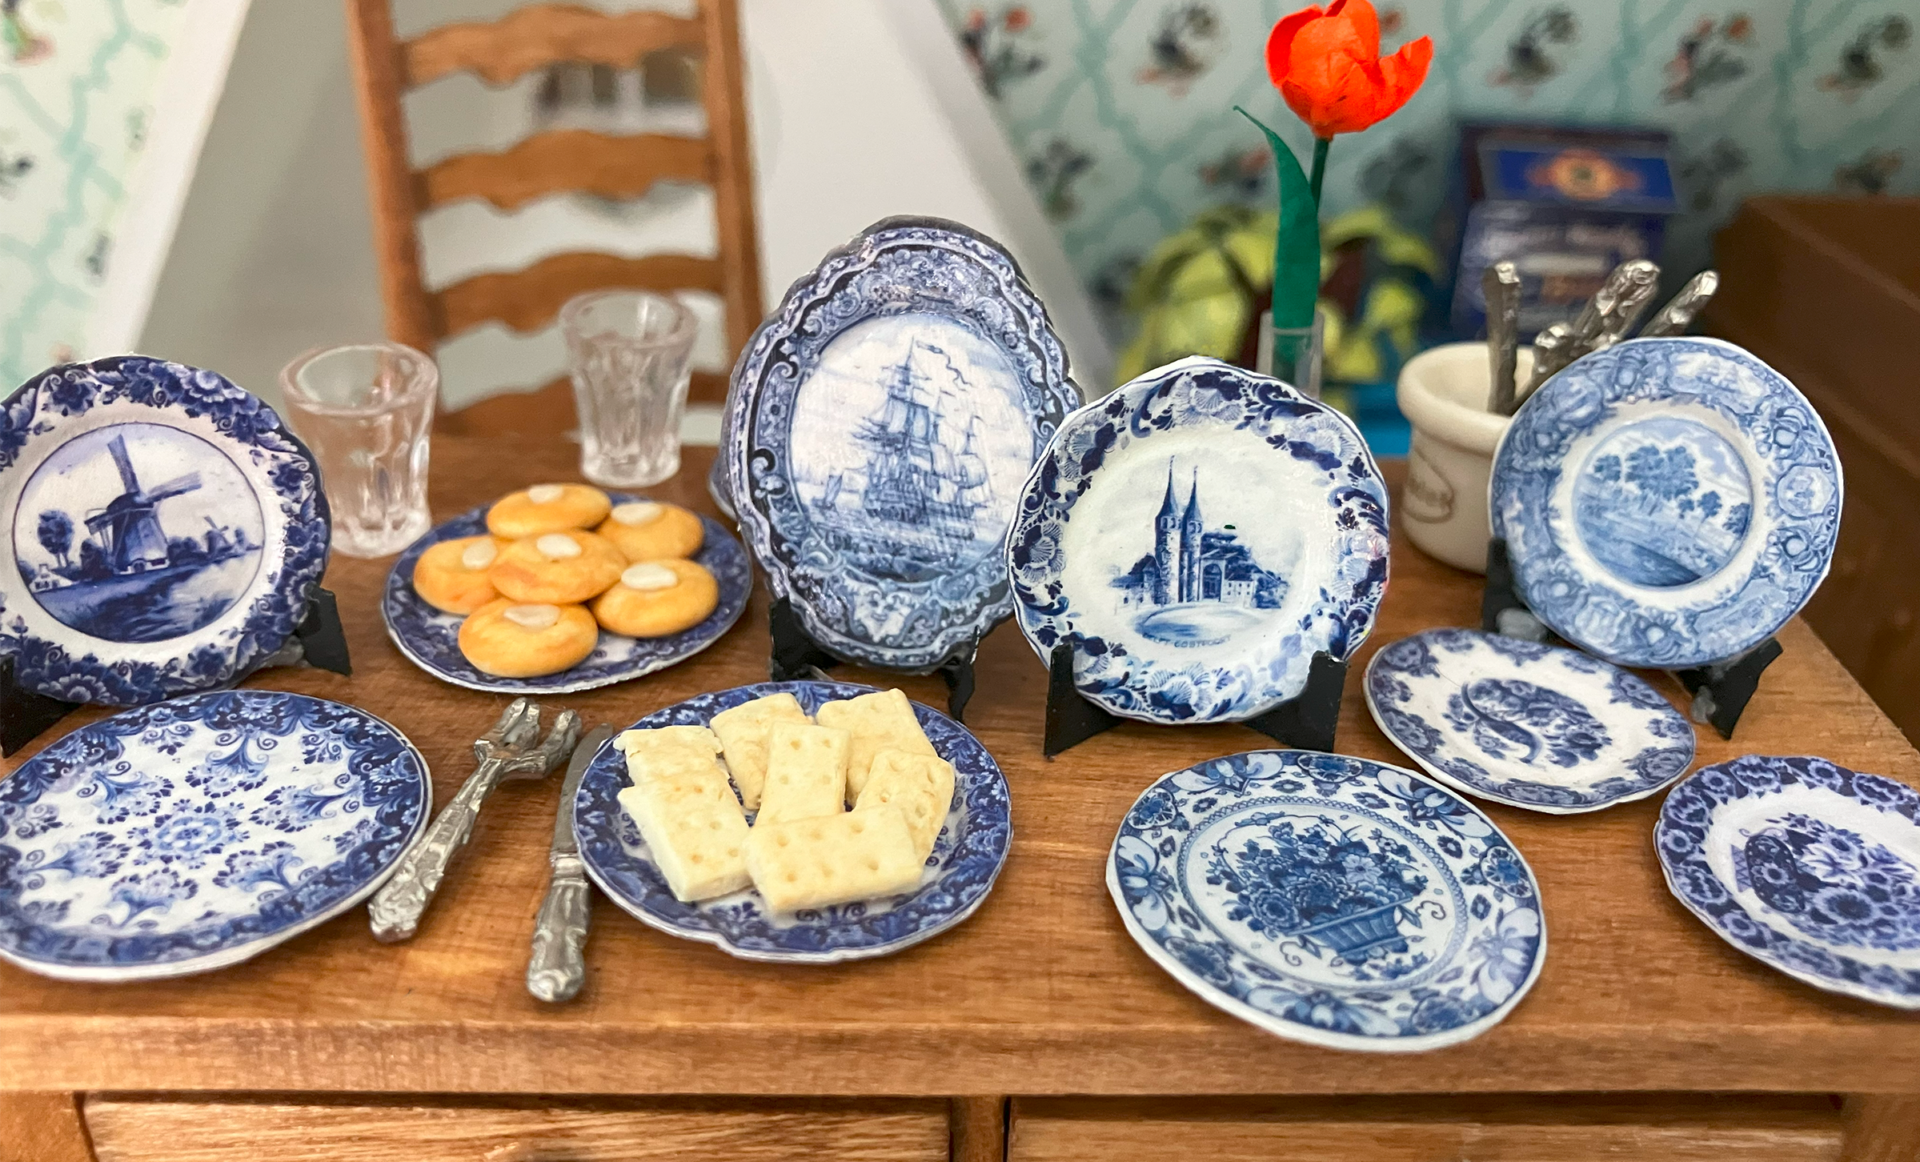
I’ve made a bunch of progress on the former manger, now 1:12 scale dollhouse cottage, and I haven’t posted about it for a long time now, so I’m here with an update! What really kicked things off is that I bought a couple of Chysnbon brand plastic models: a pump sink and a cast iron stove. They were a blast to put together, and while I was working, I kept jotting down ideas for the cottage kitchen. I got excited, so I decided to start my renovation there.
I’ve always known that I wanted to use the existing beam to divide the kitchen and living areas, so I made a quick foam core board template to divide the two. For now, this can be propped in place or removed as I work.
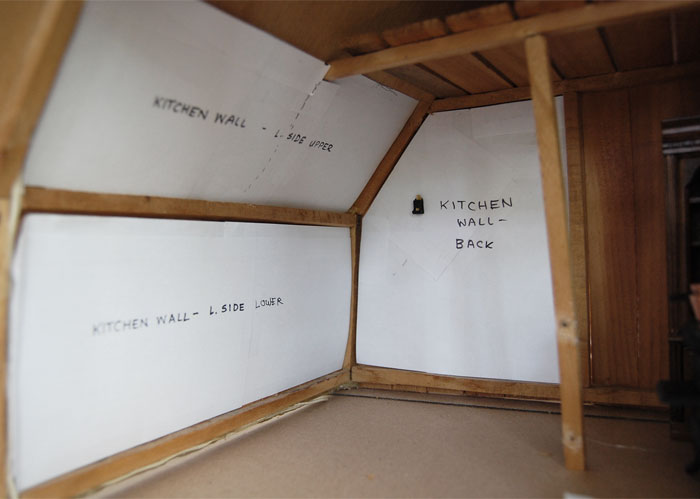
After figuring out the shape and size of the dividing wall, I removed it and used a bunch of index cards to template the inside of the wall. With these templates, I cut precise shapes from foam core board to glue into place, forming the middle of what will be a sort of wall sandwich. The old clapboard cladding is re-enforced by the foam core middle layer, and the wall is made thicker on the inside. The foam core should provide a good surface for the electrical tape wire, and eventually the whole thing will be covered in wooden mini bead board paneling.
Installing the electric tape wire is the next thing that I’m intimidated by, but I can’t weasel my way around it. I started this project partially as an excuse to learn how to do mini tape wiring!
The cottage kitchen is going to be dine-in and pretty cramped for space, so I wanted to add a dormer window of some kind to the left-hand roof side of the wall. Projecting out at an angle away from the slope of the wall, I thought it might make the room lighter and airier. In my last order of building supplies, I threw in a tiny working double-pane window. The intent was to set it in a dormer cut into the existing roof. It arrived, it was adorable, but the problem was that I didn’t have a clue how I would actually install it.
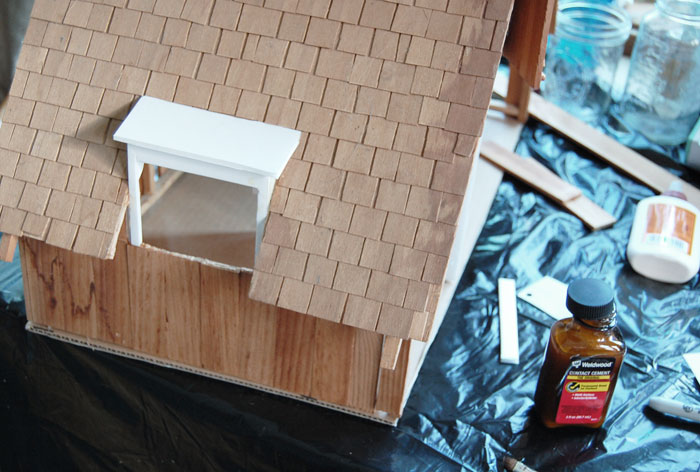
I waited weeks until I actually did it! I had measured and made a little model of the dormer, first out of card and then out of foam core. I was so nervous that I was going to start cutting and everything was either going to fall apart or be horribly wonky. But after an hour or so wrestling around with the delicate house and various little hand tools, I emerged victorious. I cut a nice, neat opening for the foam core frame of my window to fit snugly into! I was reminded never to underestimate either myself or a utility knife with a new blade.
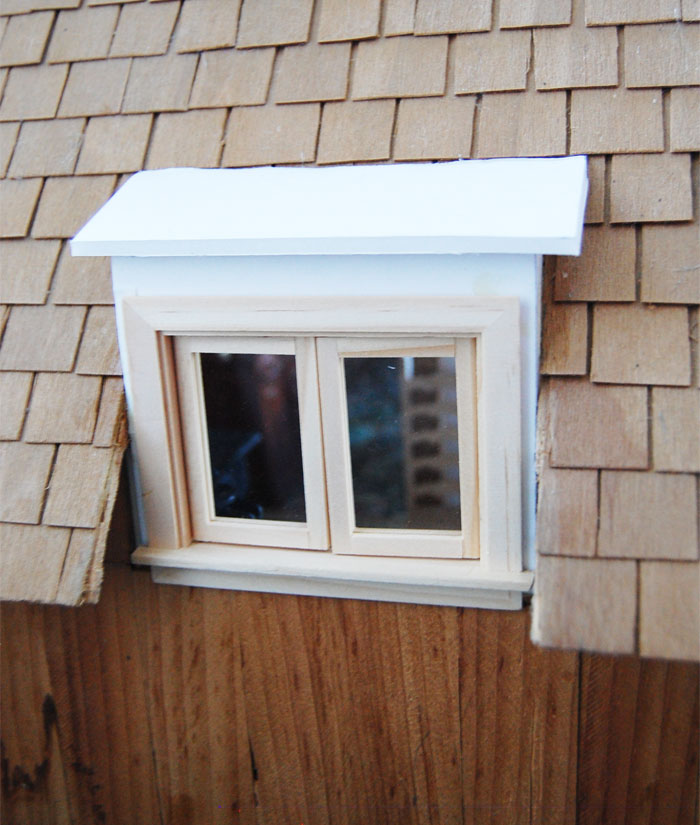
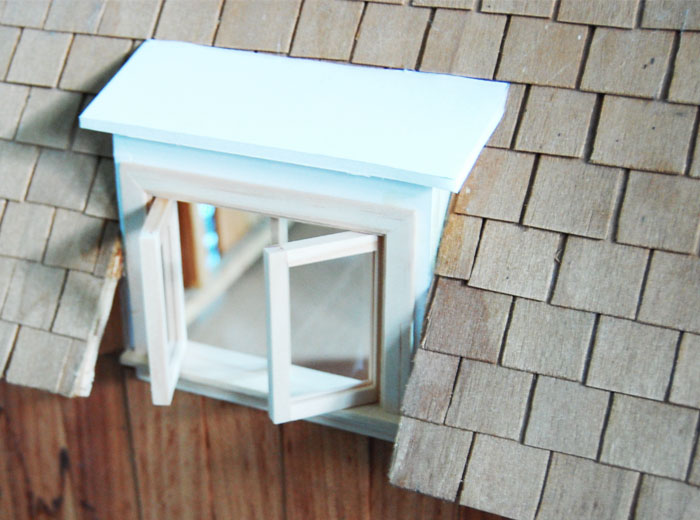
I’m not sure that I could count the number of times that I’ve opened and closed the little window, just for fun. Eventually, there will wood over the foam core base, everything will be finished with paint or stain, and there will be teeny little handles installed. But that’s a long way off for now!
BEFORE:
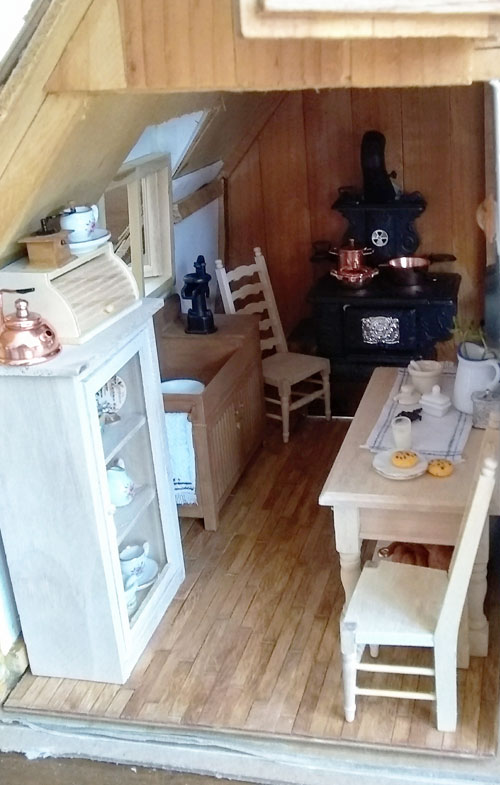
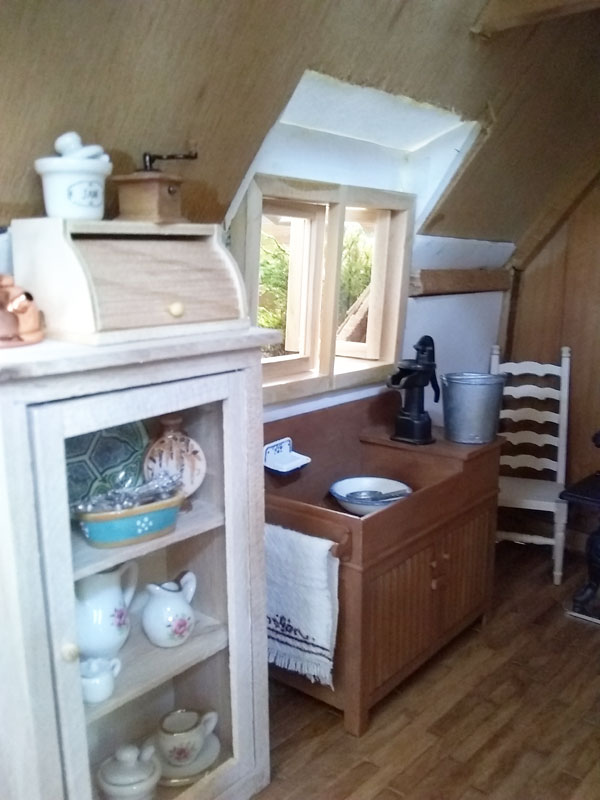
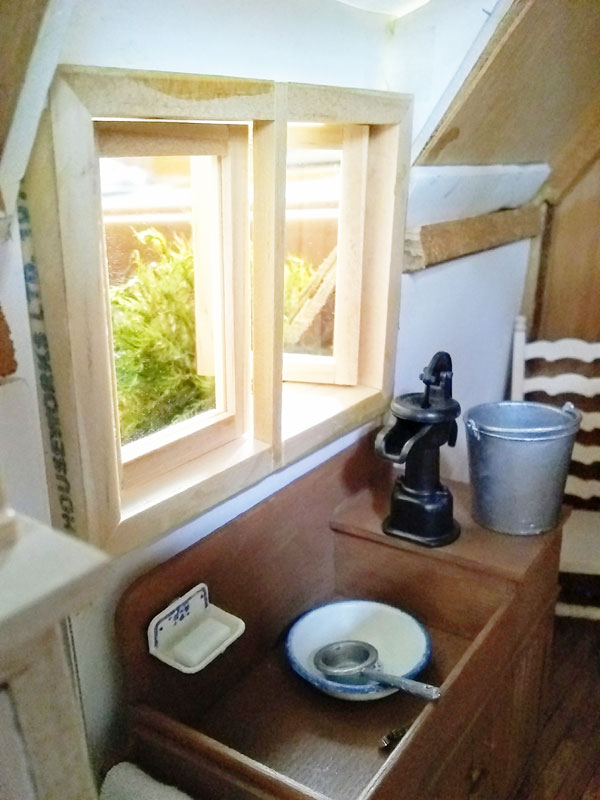
AFTER:
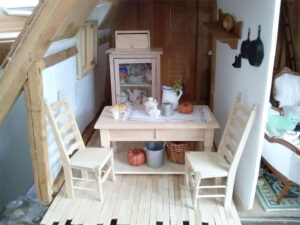
Before the floor was finished 
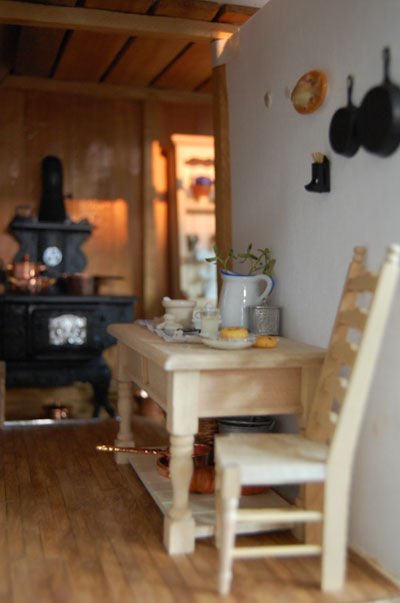
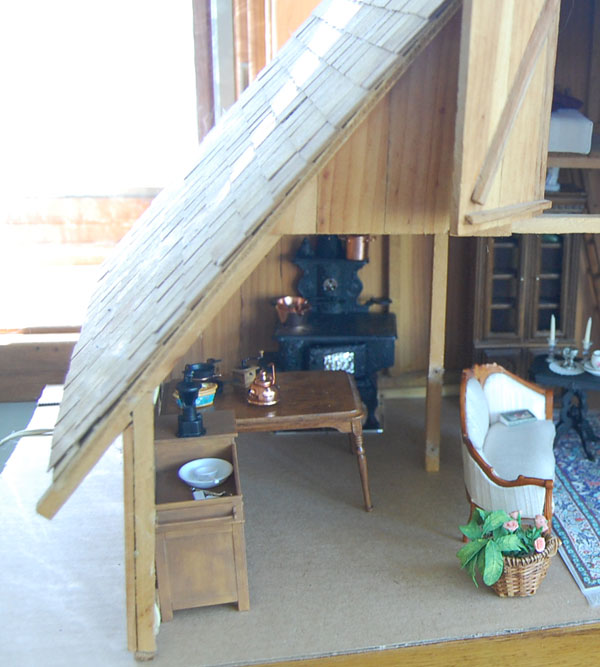
Full view of the kitchen 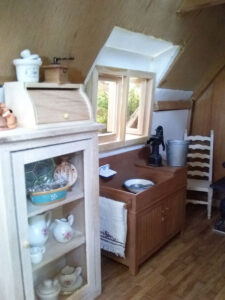
The left hand wall with kitchen window 
The kitchen window, open

I didn’t include anything about the hardwood floor, visible in the “after” videos above, but that’s coming, I promise! I like how it turned out so much that I’m going to use the same technique for the rest of the house. I will post on that soon, I had so much fun with the floor. More on minis later!