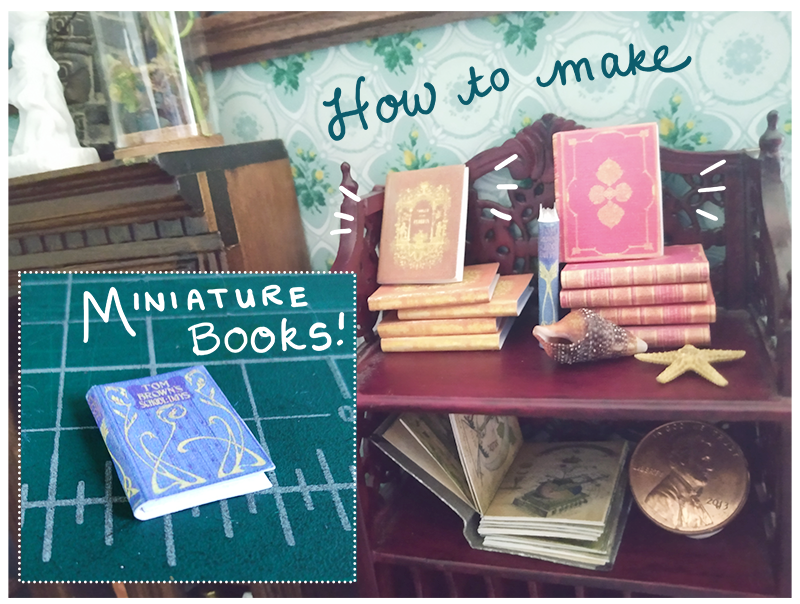
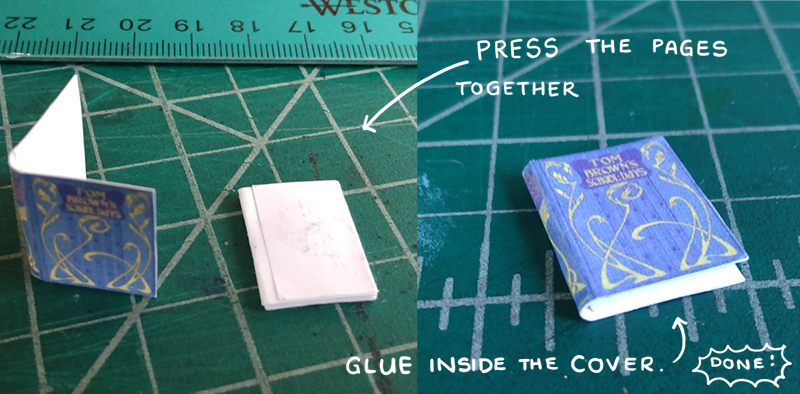
Today’s post is a little post-Halloween treat: a tutorial on making miniature books, for the dollhouse or just for fun. They don’t require any special materials, and they can be made with just a little scrap paper and printer ink!
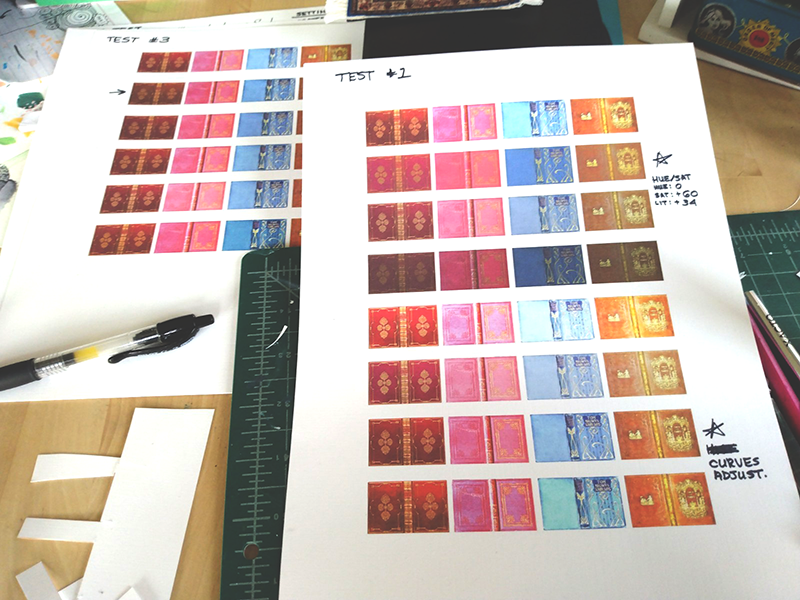
Recently, I got a new kind of paper. It’s a really nice heavy-weight linen texture, perfect for my plan to make greeting cards. It’s lovely stuff – but my printers standard settings all resulted in dark, drab-looking results. This isn’t surprising. Every piece of hardware and each piece of software in the digital editing process uses different color profiles (slightly different ways or capacities for dealing with color). Complicating things further, each different brand of paper accepts different kinds of ink a little differently. Altogether, it’s simply impossible to have the result match anything near what you actually see without a little experimentation.
I spent the afternoon a couple of days ago tweaking color settings in Photoshop, printing the results, and comparing them to what’s on my screen. Since I hate wasting paper, and I hate wasting ink even more, I used the opportunity to indulge in a little craft projects. Instead of a real art piece, today I have a little tutorial!
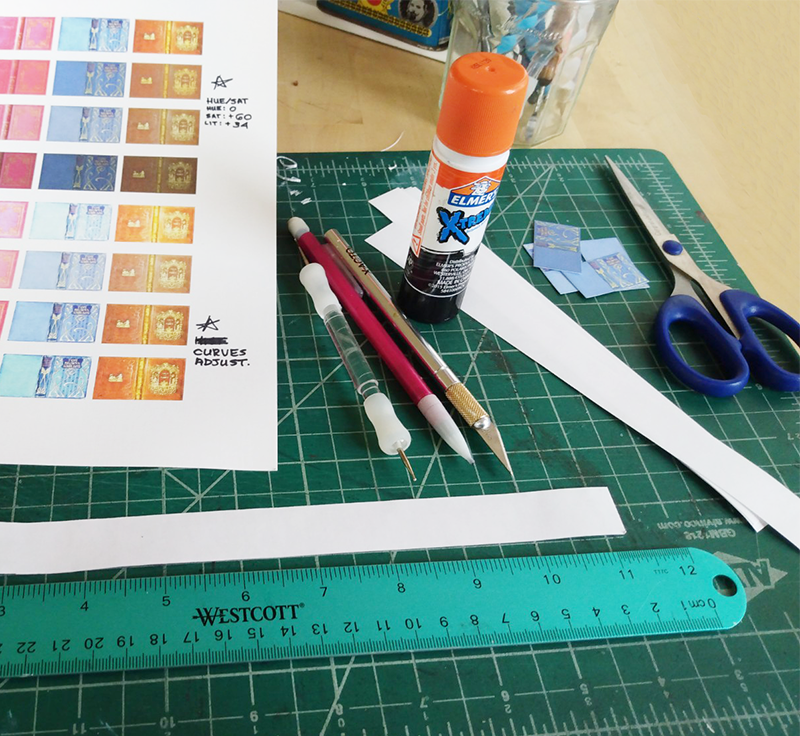
WHAT YOU’LL NEED:
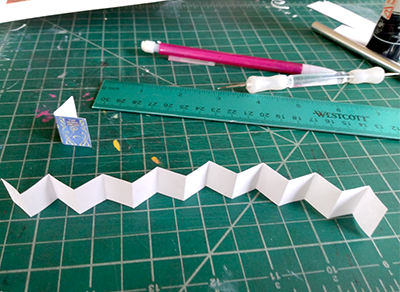
- Images of book covers printed on cardstock paper (approximately 7/8″ tall)*
- plain white paper
- scissors or craft knife
- fine point stylus tool for paper scoring (or a toothpick)
- glue stick
- pencil
- ruler
* Search for antique book covers on Pinterest, Google Images, or elsewhere to resize yourself. You can also find complete PDF files of 1:12 scale (dollhouse sized) books to download for sale on Etsy.
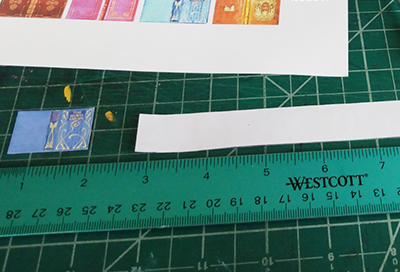
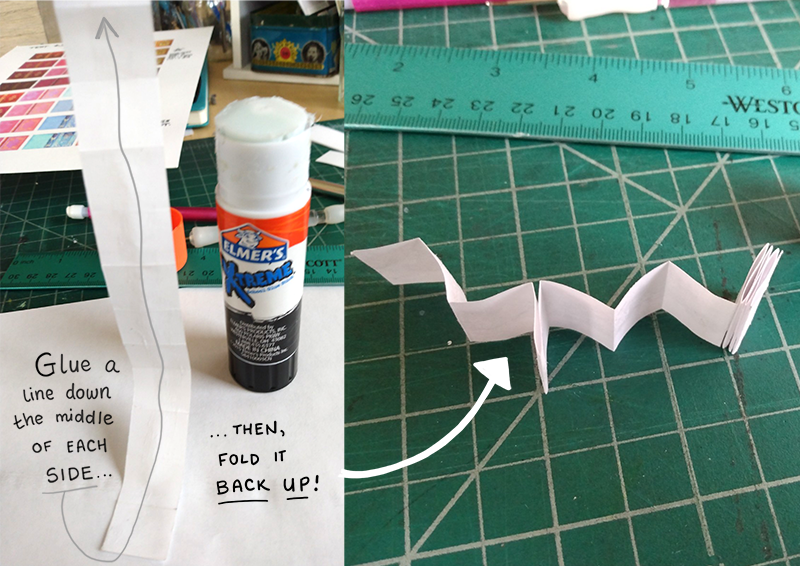
2) Cut a long strip the white paper that’s about 1/16″ narrower than the cover is tall.

That’s all for now. See you soon with some actual art. Until next time, please enjoy a little craft break!